In today’s development landscape, Docker has become a must-know tool for deploying and managing applications. Whether you’re working on a small personal project or a large-scale enterprise application, containerization simplifies deployment, ensures consistency across environments, and improves scalability.
If you’re new to Docker and want to learn how to Dockerize your web application, this guide will walk you through the process step by step.
What is Docker and Why Use It?
Docker is a platform that allows developers to package applications and their dependencies into lightweight, portable containers. These containers ensure that the application runs consistently across different environments—whether it’s your local machine, a test server, or production.
Key Benefits of Docker:
✅ Eliminates “It Works on My Machine” Issues – Ensures a consistent environment across development, testing, and production.
✅ Lightweight & Fast – Unlike virtual machines, Docker containers share the host OS, making them more efficient.
✅ Easy Scaling – Containers can be easily replicated to handle increased traffic.
✅ Simplifies Deployment – Deploy your app anywhere with a single command.
Prerequisites
Before we start, ensure you have the following installed on your system:
- Docker (Download Docker)
- A basic web application (Node.js, Python, or any other framework)
- A text editor (VS Code, Sublime, etc.)
Step 1: Set Up Your Web App
For this guide, we’ll use a simple Node.js app. If you already have a web app, you can adapt these steps accordingly.
Create a Simple Node.js App
If you don’t have an app yet, create one:
mkdir my-docker-app && cd my-docker-app
npm init -y
Install Express.js (a lightweight Node.js framework):
npm install expressCreate an index.js file:
javascriptCopyEditconst express = require('express');
const app = express();
const PORT = process.env.PORT || 3000;

app.get('/', (req, res) => {
    res.send('Hello, Docker!');
});

app.listen(PORT, () => {
    console.log(`Server running on port ${PORT}`);
});
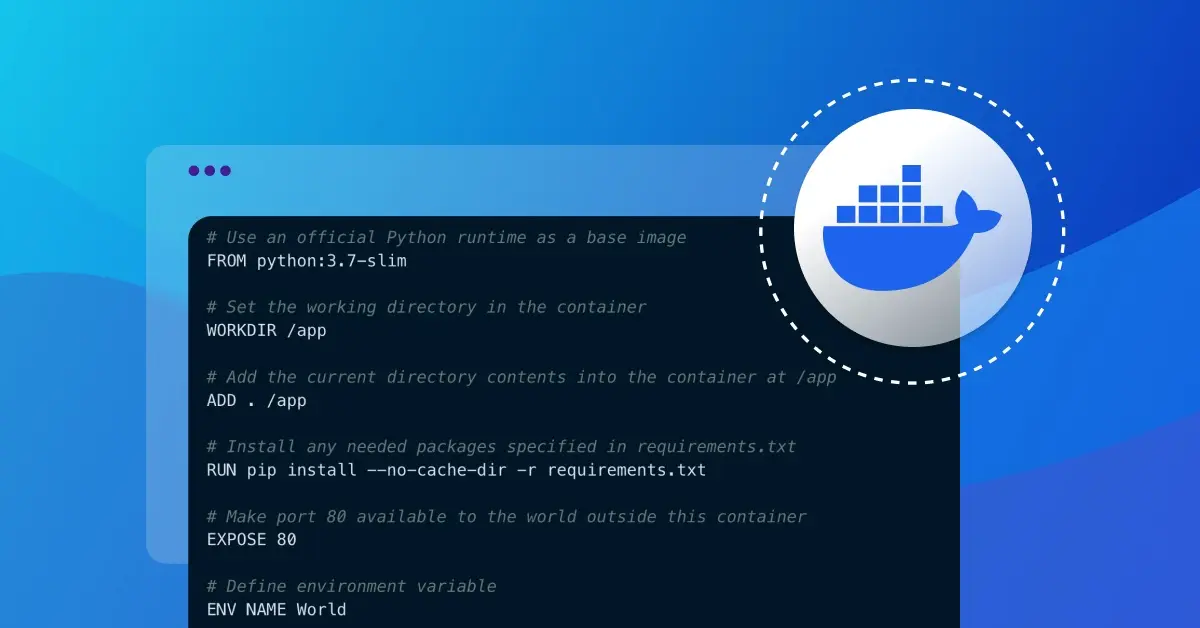
Step 2: Create a Dockerfile
A Dockerfile is a script that defines how your app is built and runs inside a container.
In your project folder, create a file named Dockerfile (no file extension) and add the following:
#Use an official Node.js image as the base
FROM node:18-alpine

# Set the working directory
WORKDIR /app

# Copy package.json and install dependencies
COPY package.json package-lock.json ./
RUN npm install

# Copy the rest of the application files
COPY . .

# Expose the application port
EXPOSE 3000

# Define the command to run the app
CMD ["node", "index.js"]
Step 3: Create a .dockerignore File
To keep the image clean and small, create a .dockerignore file and add:
node_modules
npm-debug.log
.DS_Store
This prevents unnecessary files from being copied into the container.
Step 4: Build the Docker Image
Run the following command to build your Docker image:
docker build -t my-docker-app .The -t my-docker-app flag names the image my-docker-app.
Step 5: Run Your Docker Container
Once built, you can run your container using:
docker run -p 3000:3000 my-docker-appThis maps port 3000 from your container to port 3000 on your machine. You should now be able to visit http://localhost:3000 in your browser and see “Hello, Docker!”.
Step 6: Optimize Your Docker Image (Optional)
To make your image smaller and more efficient, use multi-stage builds or an even smaller base image like node:18-slim.
Example of a multi-stage build:
# Base stage
FROM node:18-alpine AS builder
WORKDIR /app
COPY package.json package-lock.json ./
RUN npm install --only=production
COPY . .

# Final stage
FROM node:18-alpine
WORKDIR /app
COPY --from=builder /app .
EXPOSE 3000
CMD ["node", "index.js"]
This reduces the final image size by only copying necessary files.
Step 7: Push Your Docker Image to Docker Hub (Optional)
To make your app accessible from anywhere, push it to Docker Hub:
- Login to Docker Hub:bashCopyEdit
docker login - Tag your image:bashCopyEdit
docker tag my-docker-app your-dockerhub-username/my-docker-app - Push the image:bashCopyEdit
docker push your-dockerhub-username/my-docker-app
Now, you (or anyone) can pull and run your app with:
docker run -p 3000:3000 your-dockerhub-username/my-docker-appConclusion
Dockerizing your web app simplifies deployment and ensures consistency across environments. By following this guide, you’ve learned how to:
✅ Create a Dockerfile
✅ Build a Docker image
✅ Run your app inside a Docker container
✅ Optimize your Docker image
✅ Push your image to Docker Hub
Now, you can take your Docker skills further by exploring Docker Compose, Kubernetes, and cloud-based deployments! 🚀
Got questions or need help? Drop a comment below! 😊